Another day has come and gone on Vandenberg Airforce Base...and a quite exciting one at that!
Dirk and Jan-Albert have started to integrate the batteries into the bottom tray of the satellite. One battery pack has been successfully integrated - the second will be done before you folks wake up for the new day. After the second battery pack has been integrated, they have to be charged one final time. This will take approximately 16 hours.
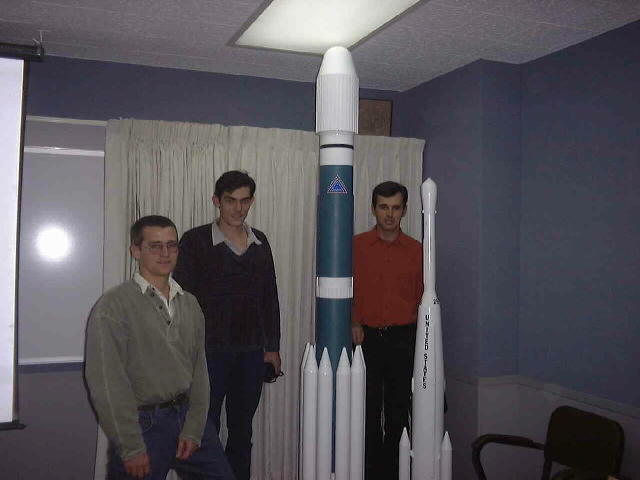
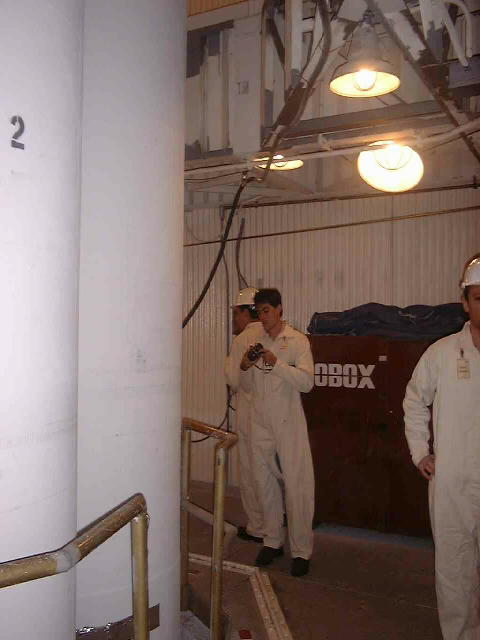
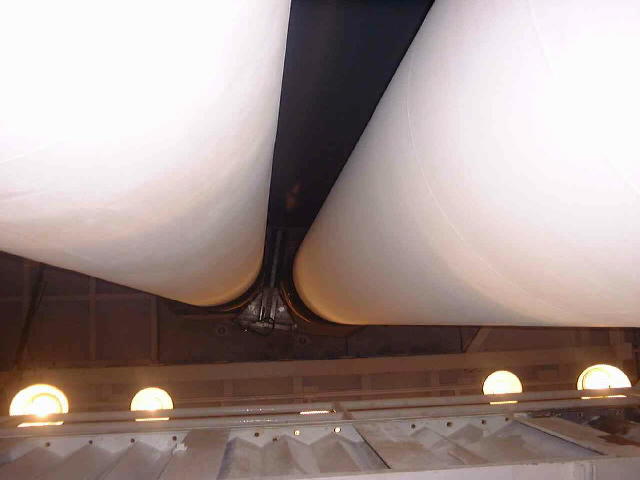
The exciting part of the day came when we went for a tour of SLC2 (Space Launch Complex 2). We were allowed to take some photographs. The Delta Rocket is enclosed within the mobile tower while it is being integrated. (That is the structure on the recently unbanned photo). Photo 1 shows the team next to a (slightly) smaller version of our rocket. Photo 2 shows us next to the real thing. Unfortunately, the real thing is so big, we cannot fit everything into a photograph The two white cylinders to the left are two of the solid fuel boosters. The Delta has 9 of these boosters. 6 are ignited at liftoff and the remaining three 3 after the first 6 have burnt out. Photo 3 tries to show the impressiveness of these boosters. Everything is enclosed in the tower, so it is difficult to get an idea of how tall everything is. Photo 4 shows the tops of these boosters. The blue cylinder on the top left just shows a part of the main rocket body. Lets hope they made these boosters well and that we have an uneventful launch!
 |
 |
 |
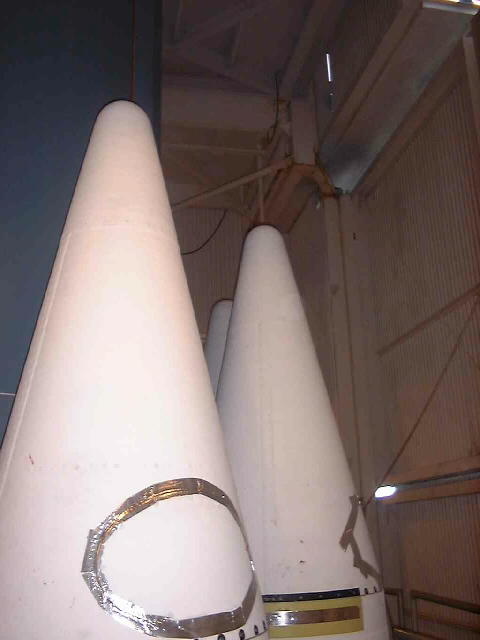 |
| Photo 1 | Photo 2 | Photo 3 | Photo 4 |
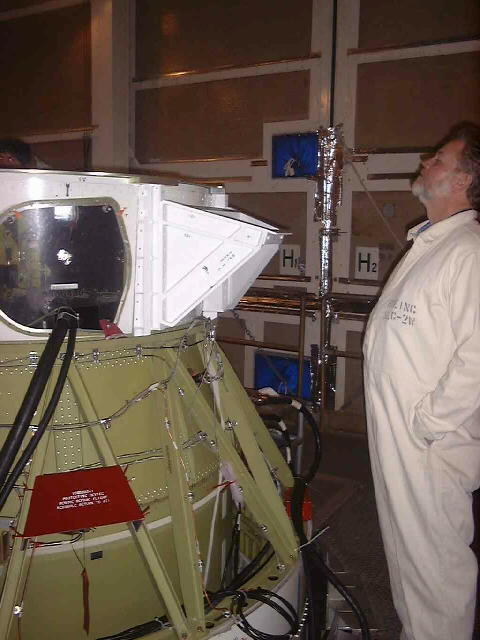
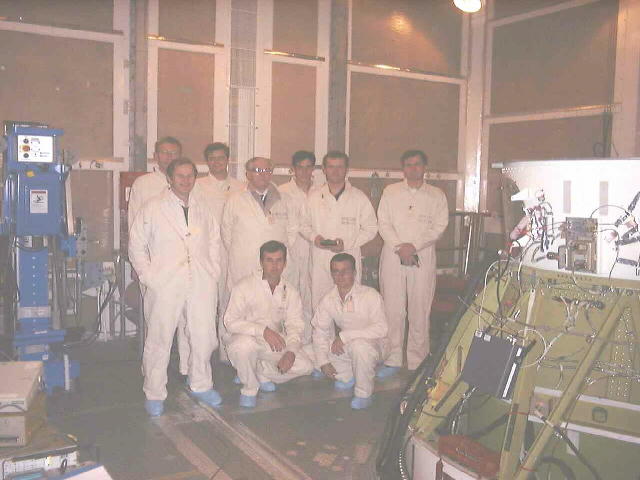
Photo 5 shows the current top of the rocket. This is called level 5 and is where Sunsat, Oerstedt and Argos will be mounted. This part of the Delta houses all the attitude control and inertial guidance systems. Argos will be mounted on the top section while Sunsat will be mounted on the side. The mating adapter for Sunsat is visible (white, sideways extending bracket) on the photo. Oerstedt will be mounted on the opposite side on a similar adapter. Photo 6 shows the combined Sunsat and Oerstedt teams also taken on level 5.
 |
 |
| Photo 5 | Photo 6 |